一、生成私有 SSL 密钥
1、创建目录
mkdir /etc/nginx/ssl
cd /etc/nginx/ssl
2、生成根证书的私钥
openssl genrsa 2048 > /etc/nginx/ssl/server.key3、 生成证书签署请求(创建服务器证书的申请文件server.csr)
openssl req -new -key /etc/nginx/ssl/server.key > /etc/nginx/ssl/server.csr返回内容:
You are about to be asked to enter information that will be incorporated
into your certificate request.
What you are about to enter is what is called a Distinguished Name or a DN.
There are quite a few fields but you can leave some blank
For some fields there will be a default value,
If you enter '.', the field will be left blank.
-----
Country Name (2 letter code) [AU]:CN
State or Province Name (full name) [Some-State]:AH
Locality Name (eg, city) []:BZ
Organization Name (eg, company) [Internet Widgits Pty Ltd]:GAVIN
Organizational Unit Name (eg, section) []:ZG
Common Name (e.g. server FQDN or YOUR name) []:
Email Address []:

Please enter the following 'extra' attributes
to be sent with your certificate request
A challenge password []:******** # 密码
An optional company name []:GAVIN
4、 创建十年有效期服务器证书
openssl req -x509 -days 3650 -key /etc/nginx/ssl/server.key -in /etc/nginx/ssl/server.csr > /etc/nginx/ssl/server.crt二、接入Nginx
server {
    listen       443 ssl;
    server_name  xxx.cn;

    proxy_connect_timeout 1200s;
    proxy_send_timeout 1200s;
    proxy_read_timeout 1200s;
    fastcgi_send_timeout 1200s;
    fastcgi_read_timeout 1200s;

    ssl_certificate     /etc/nginx/ssl/server.crt;
    ssl_certificate_key /etc/nginx/ssl/server.key;
    ssl_session_timeout 5m;
    ssl_protocols       TLSv1 TLSv1.1 TLSv1.2;
    ssl_ciphers         HIGH:!aNULL:!MD5;
    ssl_prefer_server_ciphers on;

    access_log /logs/access.log;
    error_log /logs/error.log;

    location / {
        proxy_pass              http://localhost:8000;
        proxy_redirect          off;
        proxy_set_header        Host            $http_host;
        proxy_set_header        X-Real-IP       $remote_addr;
        proxy_set_header        X-Forwarded-For $proxy_add_x_forwarded_for;
    }
}
三、使用阿里云免费 SSL 证书
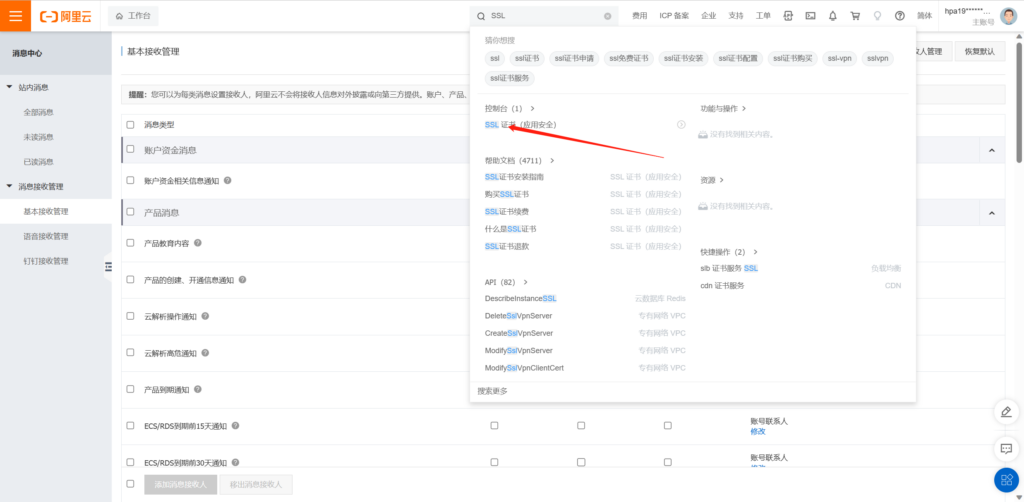
1、找到 SSL 证书服务
2、购买证书数量
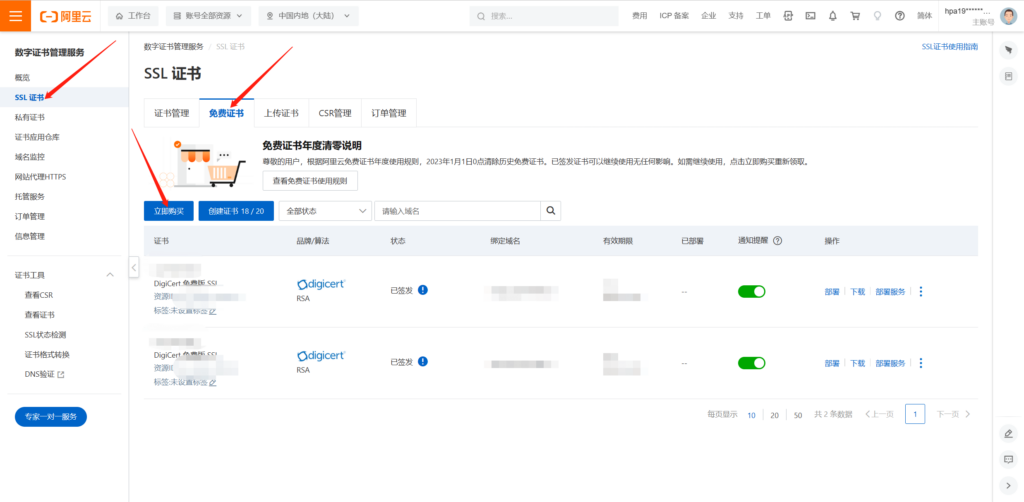
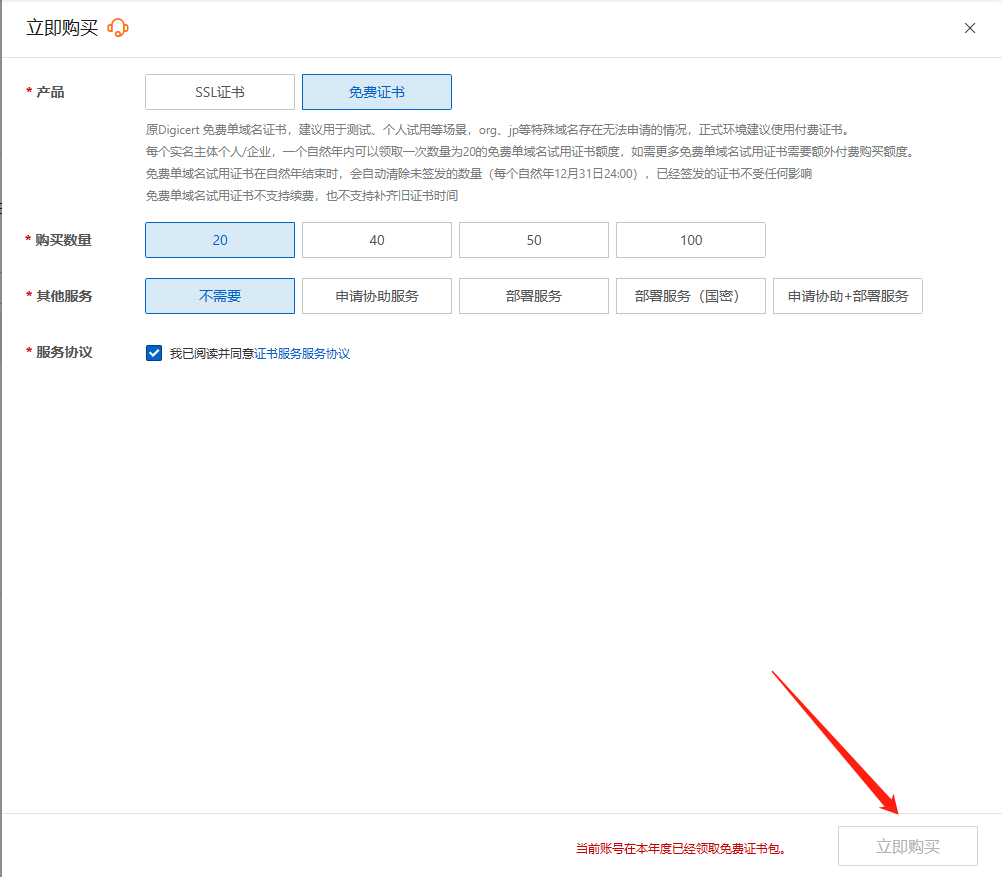
3、创建证书

4、申请证书


5、下载证书

下载的文件中是一个压缩包,Nginx类型包含 pem/key。
你把相应的文件上传到 Nginx 服务器上,自己随便创建文件夹保存其中的文件。按照上面Nginx的配置方式去配置即可。
注意:这里面的 pem 等价于 crt 。